
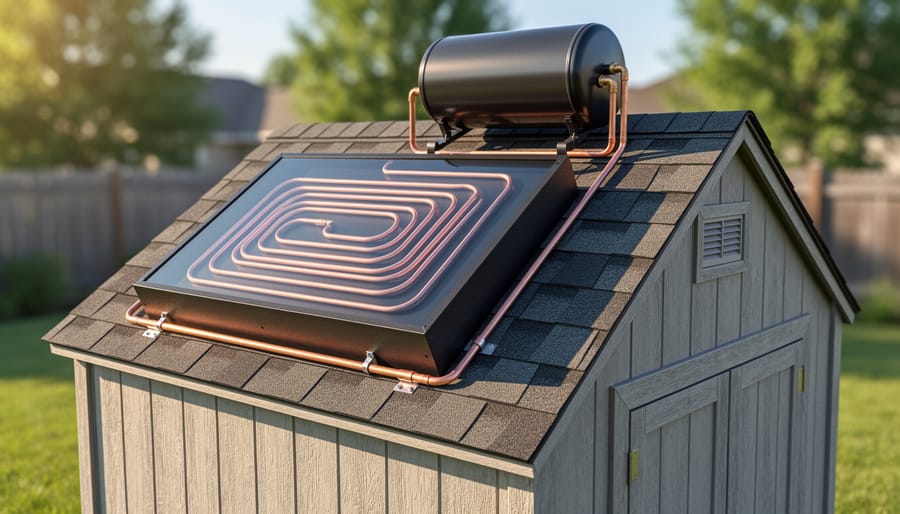
A homemade solar hot water heater is a realistic weekend project: a dark, insulated collector panel, a few fittings, and a storage tank can lift water temperature by 20 to 40 degrees Celsius on a clear day, enough for pre-heating a household supply, warming a shed or workshop sink, or filling an outdoor shower. Expect roughly one to two days of work, basic plumbing and carpentry skills, and a materials bill that typically lands well below the price of a certified packaged system. The core principle is simple. A black absorber surface captures solar radiation, water or a heat-transfer fluid circulates through it by thermosiphon or a small pump, and glazing plus insulation keeps that heat from escaping.
The idea isn’t new. Rudimentary solar water heaters were in commercial use in California by the late 1800s, and today countries such as China, Turkey, and Israel run some of the largest solar thermal fleets in the world, many built on the same passive logic you’ll apply here. Still, a DIY unit has limits. Scald risk, overheating, freezing, and pressure relief all demand respect, and potable hot water for a whole home is usually a job for a certified system and a licensed installer. This guide shows you what to build, what to buy, and where to stop and call a professional.
How Homemade Solar Hot Water Heaters Fit Within Solar Hot Water Systems
Realistic Performance and Cost Expectations
A well-built homemade collector is a seasonal supplement, not a full replacement. Commercial flat-plate collectors generally convert roughly 40 to 70 percent of incident sunlight into usable heat depending on operating temperature and weather, and a DIY box with plain black paint and single glazing will usually land at the low end of that range. Output swings hard with the seasons: a collector that delivers genuinely hot water in July may only pre-warm it in January, especially at higher latitudes. For a direct comparison of the two main commercial designs, see this overview of flat plate vs evacuated tube performance.
Cost is where DIY shines. Salvaged copper, a reclaimed tank and scrap lumber can bring a build well under the price of a certified system, which shortens payback, though your own labor and any failures rarely show up in that sum. Be wary of any payback figure that arrives without a source; check it against measured local irradiance and your actual hot-water load.
Where does DIY make sense? Pool heating, summer-only cabins, off-grid outbuildings and pre-heating feed water for an existing heater all fit well. Whole-household year-round supply does not, and storage matters here too, much as the broader types of energy storage show that capturing heat is only half the job. The same practical logic underpins solar adoption worldwide where simple thermosiphon units succeed because they match modest needs.
Tools and Materials for Building a Solar Water Heater at Home
Choosing Components That Hold Up to Heat and Potable Water Use
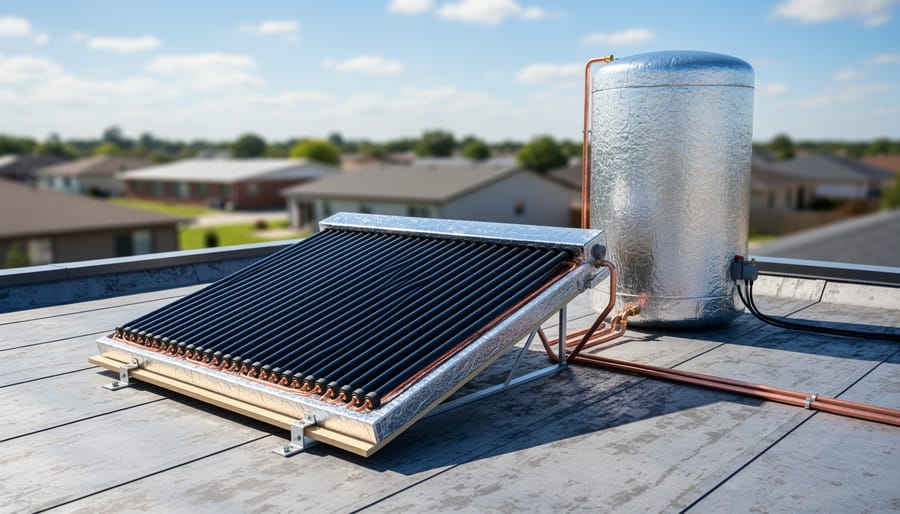
Component choice decides whether a homemade collector lasts a decade or fails in a single hot summer. When a collector sits idle in full sun, a condition called stagnation, absorber temperatures can climb well above 100 °C. Anything in the box must tolerate that heat repeatedly, along with UV exposure and the daily expansion and contraction of thermal cycling.
Copper is the safest choice for absorber tubing because it handles high temperatures and conducts heat well. Standard PEX and garden hose soften or degrade under stagnation heat and sunlight, so keep them to non-potable uses such as pool heating, where temperatures stay modest. For the box, choose insulation rated for sustained high temperatures. Mineral wool or rigid polyisocyanurate with a high-temperature rating works, while ordinary foam board can off-gas or melt. Tempered glass glazing resists UV and heat better than thin plastics.
If the loop will carry drinking water, every wetted part must be potable-grade. Use lead-free solder and lead-free brass or bronze fittings, and avoid old plumbing stock of unknown origin. Check that paint and sealants are suitable for the temperatures involved.
Keep the two designs separate in your planning. A non-potable loop can use cheaper materials but must never connect to a household supply. A potable loop demands stricter material standards and, in most jurisdictions, code compliance. When in doubt, build non-potable.
Safety Warnings and When to Stop or Call a Professional
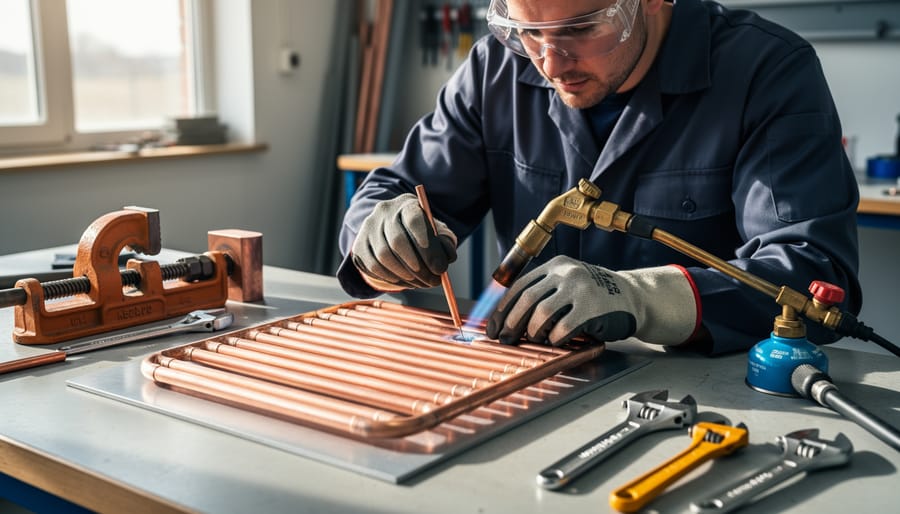
A homemade collector is simple, but the hazards are real, and most of them come from heat and pressure rather than from anything exotic. Water stored in a solar tank can climb well above 60 °C, hot enough to cause a serious scald in seconds. Anything delivered to a tap needs a tempering or mixing valve at the outlet to cap the temperature.
Collectors get hotter still. In sunshine with no flow, the absorber can reach stagnation temperatures above 150 °C, and water trapped in an unvented collector will flash to steam and build pressure with nothing to release it. A temperature and pressure relief valve is not optional, and its discharge line must be routed somewhere safe. For the fitting details, see this guide to relief valve setup.
Storage brings a quieter risk. Legionella bacteria multiply in water held between roughly 20 and 50 °C, which is exactly where a weakly heated solar tank can sit for days. If the water is meant for showers or drinking, plan for periodic heating above 60 °C or a backup heater, and keep non-potable designs clearly separate.
The build itself carries ordinary workshop and rooftop dangers:
– Roof and ladder work: secure the ladder, use fall protection, and never carry a glazed panel alone.
– Glass handling: wear gloves and eye protection, and use tempered glass, which breaks into blunt pieces rather than shards.
– Torch and soldering work: keep a fire extinguisher nearby, shield flammable insulation, and let joints cool before touching them.
– Electrical hazards: if you add a circulation pump, use a properly rated, grounded supply or a low-voltage PV-powered pump, and keep connections out of the weather.
Freezing is its own failure mode. Ice can split copper tubing and crack fittings, so decide on a freeze plan before the first cold night, whether that is draining the loop, insulating and relocating the system, or using a certified freeze-protection design.
Know when to stop. Pause the project and call a licensed plumber or installer if the design is unvented or pressurized, if it will connect to a mains-fed household supply, or if you are unsure about local plumbing and building codes. Those are the points where a DIY build stops being a clever weekend project and becomes a liability.
Step-by-Step: Building and Installing Your Collector and Storage Loop
Siting, Orientation, and Tilt for Different Climates
Latitude sets your starting point. Face the collector true south in the Northern Hemisphere (true north in the Southern), and use a tilt close to local latitude as a baseline. Add roughly 10 to 15 degrees if winter performance matters most, or subtract the same if you mainly want summer heat for pools or seasonal use.
Shading deserves more attention than angle. A collector that sits in shade between 9 a.m. and 3 p.m. will underperform whatever its tilt, so check for trees, chimneys, and neighboring roofs at the sun’s lowest winter path. In high-latitude locations such as Scandinavia or Canada, low winter sun and long shadows make a steeper tilt and a clear southern exposure essential, and many builders accept that output will be seasonal. In tropical regions such as Cyprus, northern Australia, or Southeast Asia, the sun climbs high, so a shallow tilt of around 10 to 15 degrees works well and also helps thermosiphon circulation and rain runoff.
Freeze risk changes the design more than orientation does. Where nights drop below 0 °C, water-filled copper in an exposed box can split. Options are draining the system seasonally, limiting use to warm months, or moving to a freeze-protected loop, which is best left to professionals. For a broader view of how these choices play out on a real roof, see our guide to solar hot water installation.
Verifying Performance and Planning Your Next Steps
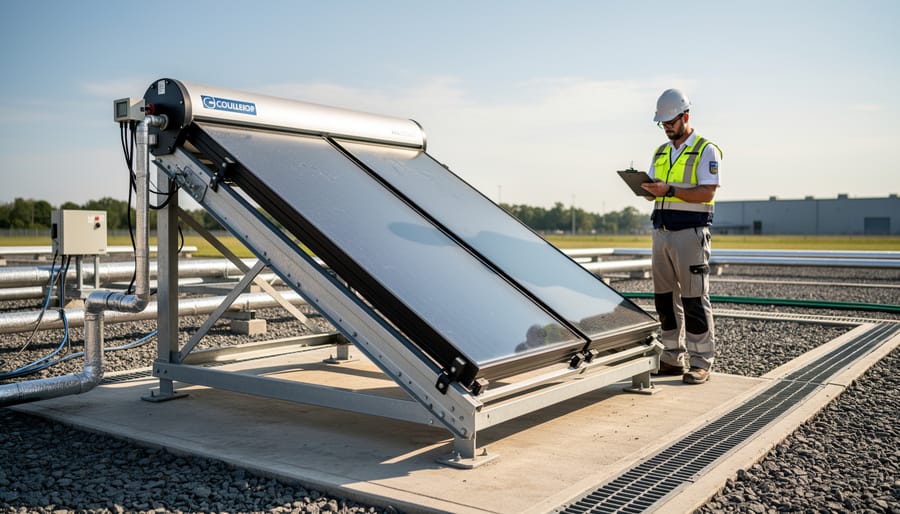
Start verification before the first full day of sun. Fill the loop and hold it at working pressure (or simply at mains head for a thermosiphon build) for several hours, checking every joint and seal for weeping. Then watch circulation: in a thermosiphon system, you should see the collector’s outlet pipe warm first, followed by gradual flow into the tank.
Next, take real measurements. Use a simple dial or digital thermometer at the outlet at mid-morning, solar noon, and late afternoon, and note the weather each time. Confirm that the tempering valve caps delivered temperature at your target, commonly around 50 to 60 °C, even when the tank itself runs hotter. A log of dates, ambient temperature, and outlet readings across seasons shows how the system really performs rather than how you hoped it would.
Maintenance is modest but non-negotiable. Flush the storage tank periodically, inspect seals and glazing for degradation, check the paint for peeling, and exercise the relief and tempering valves to confirm they still operate. In freeze-prone regions, drain the collector before winter or use a design that tolerates frost. If your needs outgrow the build, consider a certified commercial collector or a hybrid with an electric or gas backup heater. Our next steps checklist covers that transition, and broader renewable investment trends offer context on where the market is heading.
How hot will a homemade collector get?
On a clear day, an unvented or poorly vented collector can reach very high stagnation temperatures, well above safe delivery levels. That is why the tempering valve and a relief valve matter.
Can it supply drinking-water-grade hot water?
Only if every wetted component is potable-safe, such as copper with lead-free solder and fittings. Otherwise, restrict use to non-potable tasks like pool heating.
Does it work in winter?
It works with reduced output, since shorter days and lower sun angles cut yield. Freeze protection or seasonal draining is essential in cold climates.
Do I need a permit?
Requirements vary by jurisdiction, and connections to mains plumbing often trigger code rules. Check with your local building authority before installing.
How does DIY compare with a commercial kit?
A DIY build costs less up front but lacks certified testing, warranties, and often incentive eligibility. A commercial kit offers verified performance and easier compliance.
Once your readings are consistent and the safety devices prove reliable, you can decide whether the system stays a pre-heat supplement or becomes a stepping stone to a full certified installation.
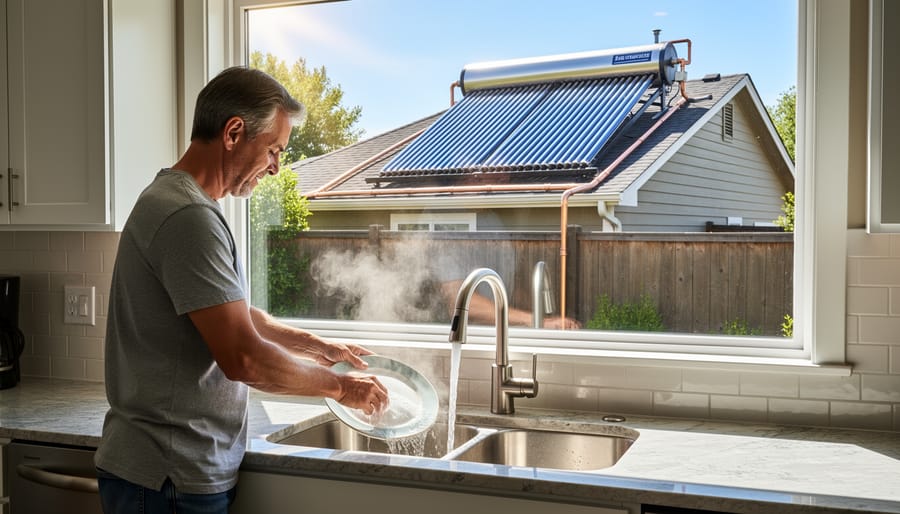
A homemade solar water heater is a sound way to learn how solar thermal systems actually behave. Built with the right materials, a pressure-tested copper absorber, a well-insulated box, and a tempering valve at the outlet, it can pre-heat water, warm a pool, or supply an outbuilding for very little money. Just as important, it teaches you how collectors, storage, and circulation work together, which makes you a better judge of any commercial system you consider later.
That hands-on spirit goes back to our family’s beginnings in 1947, when practical solar water heating was built and tuned by hand rather than bought off a shelf. It’s a tradition worth continuing.
Keep a simple log of outlet temperatures, weather, and season. Those numbers show you what your design really delivers. And when the goal shifts to covering a full household load, move to a certified collector installed by a qualified professional, with your DIY unit still useful as a pre-heat stage.